
Step by Step Preset Download Instructions
- victoria-tor-mcdermott

- May 13, 2020
- 3 min read
Updated: May 14, 2020
*Note these steps only need to be done once to download the preset(s) then you can use your preset(s) in one click!
*Before starting, make sure you have downloaded the Lightroom Mobile App.
Step 1: Download the DNG files to your phone
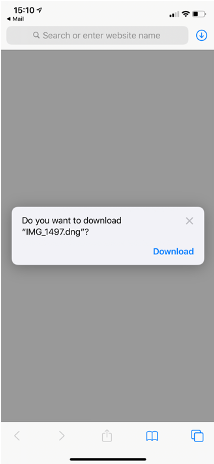
After purchase, go to the Etsy receipt sent to your email and click on the DNG image file (photo shown below)

Click download (first photo shown below)
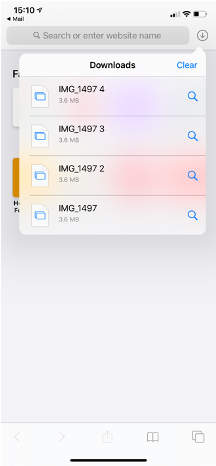
Your download will appear in the top right corner of your phone (arrow pointing down symbol) (second photo shown below)
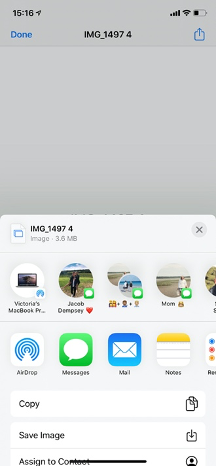
Click the file, then click the box with the arrow pointing upward in the top right corner and save as an image (third photo shown below)


Step 2: Import the preset files into the Lightroom App
At this point, you should have all of your DNG files saved to your phone (they may look like white photos of nothing in your photostream/camera roll, this is normal).
Download Lightroom mobile App and open it. Go to the homepage (if you are not in a page that looks like the first photo below, click the backarrow in the top left corner until you get there)
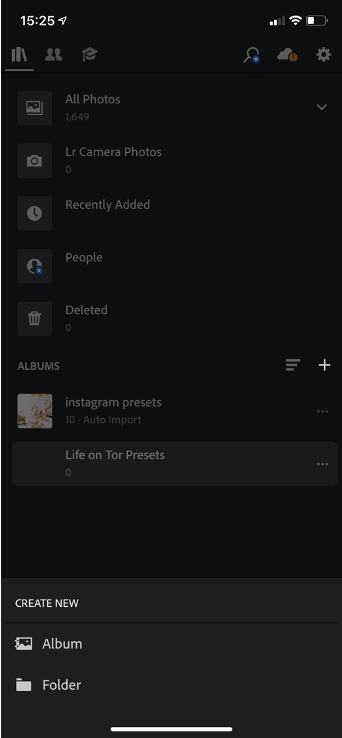
Open the App and create a new album (click + sign under albums) (first photo shown below)
Then open the new album, tap on the 3 dots in the upper right corner and then tap on Add Photos (second photo shown below)


Select From Camera Roll (or wherever you saved the download)
Next, select the DNG presets from your camera and import them into the newly created album in Lightroom (photo shown below)

Step 3: Create and save your Presets
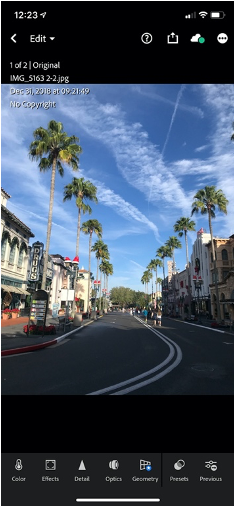
Go into the album containing your newly imported DNG files. Open the first file
Now tap on the 3 dots icon at the top right of the screen and then tap on Create Preset
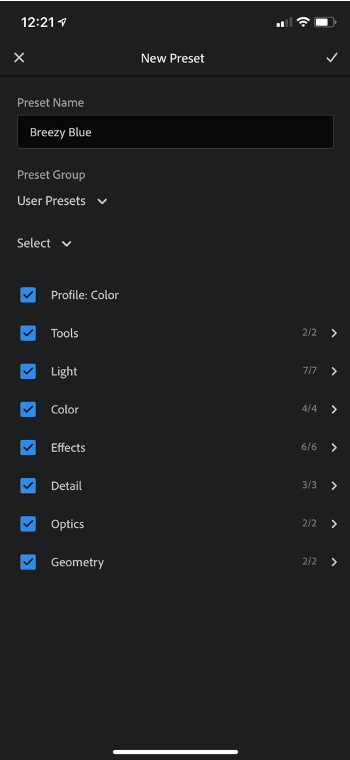
Next, you will see the New Preset screen (second photo shown below). Name the Preset and check all boxes
When you’re done with the settings, save your preset by tapping on the checkmark icon at the top right corner
Repeat this step for each DNG file as you will need to save each preset separately. Don’t worry though, you only need to do this one time to have them saved then you are good to go!


Step 4: Using Lightroom Mobile presets
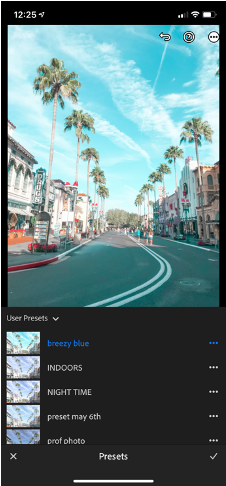
To use your new presets just go back to the home page of Lightroom Mobile library and open any photo you’d like to edit! To open a new photo of yours, click the symbol on the bottom right corner that looks like a photo with a plus sign (first photo shown below). Add from Camera Roll.
Find the 'Presets' icon in the menu at the bottom of the screen and tap on it (second photo shown below). Make sure the Preset Group that’s selected is the one where you saved your new presets). If you saved them in the User Presets group, select that by clicking the symbol that looks like this ^ but pointing down (seen in third photo shown below)
Now you can edit the photo by tapping on a preset from the list and then tapping on the checkmark in the bottom right corner (third photo shown below). You can still continue to edit the photo and make adjustments if you like after you’ve applied the preset.
And that’s it! Now you know how to install, save and use your Lightroom Mobile presets without desktop!


Comments